Wednesday, October 24, 2012

Meet Brian!

It's been a year now since I have taken my sewing hobby and quilting to a more serious level.  About this time last year, I created a small table-top quilt with a fall theme in anticipation for Thanksgiving, and then it snowballed into me making more and more quilts--I just couldn't stop--I love it!  Shortly thereafter I created this blog and joined the Kansas City Modern Quilt Guild--not necessarily in that order.  Oh, and I can't forget the sewing studio renovation.  As a result of that, I'm teaching sewing classes, and I'm quilting on commission as well as for pleasure.  So many great things have resulted from my latest pursuits.  Among these great things are the friends that I have met along the way, particularly in the guild and in the blogging community.  Just recently I connected with Brian Turner, Staff Writer and toxic substance safety advocate, who posts regularly on The Mesothelioma Cancer Alliance Blog.  Brian's mission is to create awareness of environmental health risks and that's how we connected.  He discovered via my blog that I (actually my husband and I) had just completed a renovation and so now I am delighted for him to post his important message here and help keep us all safe.  So if you are considering future DIY projects, Brian and his colleagues are a great resource or "go to" when preparing for renovation, or other safety concerns for that matter.  And now here's Brian -


Be Careful Of Toxic Substances When Renovating

An older home is more likely to have toxic construction materials. Old homes used to be heated by boilers. Those boilers had their pipes wrapped in a paper-like substance called asbestos. Unfortunately, asbestos is highly toxic, irritating the respiratory system when inhaled, which leads in extreme cases to lung cancer, mesothelioma cancer and other disorders. Toxic products in the home can be released into the air during renovation. Homeowners must take steps to protect themselves when renovating an older home themselves.


The primary danger spots for potential problems are the basement, the kitchen and the bathroom. Actually, the water pipes throughout the house pose a problem because of the risk of mold. Even a small amount of water leaking from a pipe will create the conditions that mold likes best. While mold is not usually considered to be cancerous, victims of cancer often finger mold as a contributing factor if not the primary culprit. What is known for certain is that mold also causes respiratory problems.

Breaking open moldy drywall releases mold spores into the air, which can infect the bronchial tubes and lungs. Some forms of mold are extremely toxic and even deadly, depending on the situation. Be careful when renovating bathroom, kitchen or basement. The two most common areas for mold to grow without pipe leaks are doors and windows, especially in the bathroom. Dealing with mold requires wearing masks and gloves. The gloves prevent mold spores from getting on the hands. The mask prevents the homeowner from accidentally breathing them.

Another potentially toxic element is the insulation that was used behind the drywall. Again, this depends where the homeowner does the work. Some insulation is toxic to humans because of particles or fragments released into the air. Insulation can also off-gas volatile organic compounds or other toxic chemicals. This is a problem regardless of whether the homeowner demolishes the drywall containing the insulation. However, opening up the drywall without the proper protection the homeowner at even greater risk.

Finally, a major risk factor for various health problems in lead, which is chiefly in older homes, particularly homes built before 1978, according to the Environmental Protection Agency. (2) Lead is typically only found in paint. The paint fragments from demolished walls and ceilings can release microscopic paint fragments containing lead into the air. These lead-containing fragments are also dangerous if they are swallowed.

In all cases, separate the area of the home where remodeling work takes place from the rest of the house. Put up a plastic barrier over the doorways of the rooms being renovated. It may be wise to set up a clearing area just outside the rooms by using plastic to create a walled enclosure. This is done with severe cases of asbestos removal. In extreme situations, outside ventilation with negative air pressure machines may be utilized to make sure that all toxins are filtered out of the air. Using this method ensures that the rest of the home is completely safe for everyone involved.

Brian, thank you for stopping by and sharing such important information with us.  Please stop by whenever you would like, I'm sure we all would love to know more.  Also, readers, followers, and friends, please check out
The Mesothelioma Cancer Alliance Blog to obtain additional information and articles.


Monday, October 22, 2012

Everlasting Hug

My daughter's quilt is finished, and I am anxious for her to see it.  My wait, however, will be a little long today, as she has school tonight and won't be in until around 10 PM.  As most of you know, I enjoy quilt making but making this one was very special.  Here's why.

For the last couple of years, my daughter, as a young adult, has had her fair share of tribulations--none of which I will bore you with--but it seems no one I know personally is more deserving of a hug than she.  Being her mother, one who has watched her grow up to become a fine young lady, and who is now a mother also, it's only natural that when you witness your own child going through tough times, you want to at least give them a hug as an offering of encouragement, comfort, and support.  So while working on this project I had ample time to reflect on recent times, especially where she's concerned and have come to realize that this quilt will always be a hug from me, an everlasting hug!

This is Cubic Rhythm in its final form -


Well I better get started on my Halloween costume.  I've got a party to go to on Friday . . . .

Monday, October 8, 2012

Cubic Rhythm

My daughter has been wanting me to make her a quilt and has been waiting patiently for months without saying a word.  Finally, she couldn't stand it any longer and said, "When are you going to make ME a quilt?"  I responded by saying, "Go through my books and pick out a pattern and I'll make one for you."  To my surprise, she picked out a pattern that I would have never imagined she would want.  An overwhelming sense of relief suddenly came over me because I was thinking, whew, I'm sure glad I didn't take it upon myself to select a pattern and fabrics--I would have totally missed the mark. The pattern she selected is called "Cubic Rhythm" from Better Homes and Gardens Easy Quilt Projects copyright 2010.  I admit I was a little dismayed when she first showed it to me (I guess I had something else in mind), but I went on to ask her about the colors she would want as well.  At first she said she wanted the colors similar to the Dress Form Silhouette quilt--the quilt I had just finished for my client.  I then let out a small  groan because while I wanted to make her a quilt with the colors she likes, I was also wanting to use fabrics from my stash.  Unfortunately I did not have enough leftover fabric from my previous project.  So reality set in and I compromised by using as much as I could from my stash pulling out a muted abstract stripe with greys, blues and greens, two florals --one blue and one brown, and then I purchased three fabrics: one print with browns, greys, and greens, and two solids - a dusty blue and green.

I have completed piecing the top, modifying it just a tad . . . and she likes it!  Here's a preview.


I'll be back when it's finished.

Tuesday, September 25, 2012

Ready for Pick Up!

My latest quilt, Dress Form Silhouette, is finished as of today and my customer will be picking it up on Friday.  I'm excited and I believe she is too.

Since I last posted, quilting, binding, and making the quilt label was all that was left to do, but schedule differences seemed to be the most challenging aspect in completing the project.  You see, she works evenings and because of this there was a considerable amount of waiting in between email and text messages for customer input and/or approval of the remaining tasks.
 
Because my client wanted a soft feel to the quilt, I did minimal quilting--only outlining the blocks and borders--and then I made a simple quilt label.  The label acknowledges the recipient's service and mention is also made of  my client's design input.  My customer found this idea rather amusing but facts are facts; it's a custom quilt and she provided input along the way.  The collaboration was a lot of fun and being a part of such a special acknowledgment made this project very rewarding.

Here's a close-up of the front:


Here's the back:


Here's the quilt label:


And here's a closer view of the quilting:


The recipient will certainly enjoy the softness and comfort while reading, watching television, or working on her own sewing projects.


Now on to a quilt for my daughter . . .
  

Sunday, September 9, 2012

Commissioned Quilt "Dress Form Silhouette"

I have been commissioned to make a lap quilt for a client who is planning to give it to a special lady who started a food pantry at her church and who has brought on board quite a few church members to assist her in her efforts.  According to my client, the future recipient also loves to sew and likes neutral colors, so the client and I came up with a design that will not only keep her warm but also reflects her hobby.  The quilt will need to be ready by the end of the month, which is when church members plan to give it to her.  I've begun the actual quilting of the layers using "stitch in a ditch," and I am pleased with how it is turning out.  Even though it is still pinned and obviously there is more quilting to do, I thought I would give you a peek.


Here is a close-up of the silhouettes. 


More quilting and then binding and then I'll be back to show the finished product.


Wednesday, August 29, 2012

Retro Themed Valance - A Tutorial

Before I begin another quilt, I thought it would be best to go ahead and make curtains for my sewing room.  Selecting fabric was a bit of a challenge for me because I had a few things to consider.  I had to consider color scheme, theme and style.  The colors of my sewing room are orange, aqua, beige, black and brown, although in a previous post, colors were described by the paints we had purchased.  Anyway,  the theme obviously is sewing, but also there is a retro feel to the furniture, so "retro" is the style.

After searching three different fabric stores, I found two fabrics that would work.  The orange fabric is called Stacked Pincushions from Olika Licensing Inc. for Springs Creative Products LLC 2011 and the light blue with aqua and chartreuse paisley is called Spring Fling.

I made curtains for two windows and here they are:


My curtains are self-lined and are fairly simple to make.  If you have a room with a retro vibe and wish to incorporate complementary window treatments, I've included a list of supplies and instructions on how to make them.  Keep in mind the listed fabric amounts are based on the size of my two windows, so fabrics requirements could be more or less.

Supplies:

 - 3 different fabrics of your choice (2 different prints or one print and one solid, plus a neutral toned lining all 100% cotton)

    3/4 yd - Fabric 1  - orange sewing themed fabric in my case
    1 1/2 yd - Fabric 2- aqua and chartreuse paisley in my case
    1 1/2 yds - Fabric 3 - off-white lining in my case

-  Thread(s) - matching

-  Pom-pom trim - aqua and brown in my case (measure the inside width of window and add 1/3 to 1/2
   additional total width measurement to allow for gathers).

 - Cutting mat
 - 24" clear ruler
 -  Rotary cutter
 -  small scissors
 -  Measuring tape

 -  Iron/Ironing Board
 -  Sewing Machine
 -  tension rod appropriate size for your window

Instructions:

Decide which fabric will be your accent and which will be your base.  Cut accent (orange) fabric 1 1/2" x desired length + 2" (top casing) + 1/2" (1/4" seam allowance).  Then cut base (blue) 4 1/2" x desired length +  2" (top casing) + 1/2" (1/4" seam allowance). 


Next piece (sew) accents and base pieces together alternately - right sides together.  The number of pieces of each will be determined according to the width of your window.  (Example:  total accent pieces are always one less than the total base pieces, and in my case I had 8 accents and 9 base pieces for one of my windows - see picture number 2 above.)


After all pieces are sewn together, press seams flat to darkest side. 


Next, measure length and width of pieced and pressed fabric.  Cut out neutral cotton lining fabric according to these measurements.   Place lining on right side of pieced fabric (right sides together) and sew 1/4" seam around perimeter of fabric, except for top side (where casing will be made) - LEAVE OPEN.


Next, clip corners at a diagonal being careful to not clip stitches while doing so. Then turn inside out, pushing out corners and press edges for smoothness.


Next,  baste top front and lining back together a 1/4" from top edge, then fold top edge toward lining back using the basting stitches as a guide.  Press.  


Next,  fold down again 1 1/2 - 2" (depending on the size of your rod) and stitch in place close to lower edge. - this will be your casing.


 Next, turn over curtain panel so that right side is facing up and pin pom-pom trim at bottom, then zig-zag stitch to sew on trim, using matching color thread.


You are finished and ready to insert the tension rod and hang your valance on your window!   You now have a retro-style valance!  For those who want to make your own curtains but prefer a different style, you can change the style by making different fabric, color, and trim choices to suit your decor, whether it is modern, traditional, or country . . . .


My new valances are the perfect blend of the 60's and today!  They're also perfect for my sewing room.  I hope you will try making them.  They were a lot of fun to make and if you have questions or suggestions, feel free to post a message.   I would love to hear from you.


Sunday, August 26, 2012

Ready for Action!


As I promised, I'm sharing the last group of pictures of my room.  The sewing and serger machines are set up and ready to go and so am I.

Here's the office section already filled to the brim.


The sewing machine is front and center, along with the serger and iron/ironing board to the left and back.


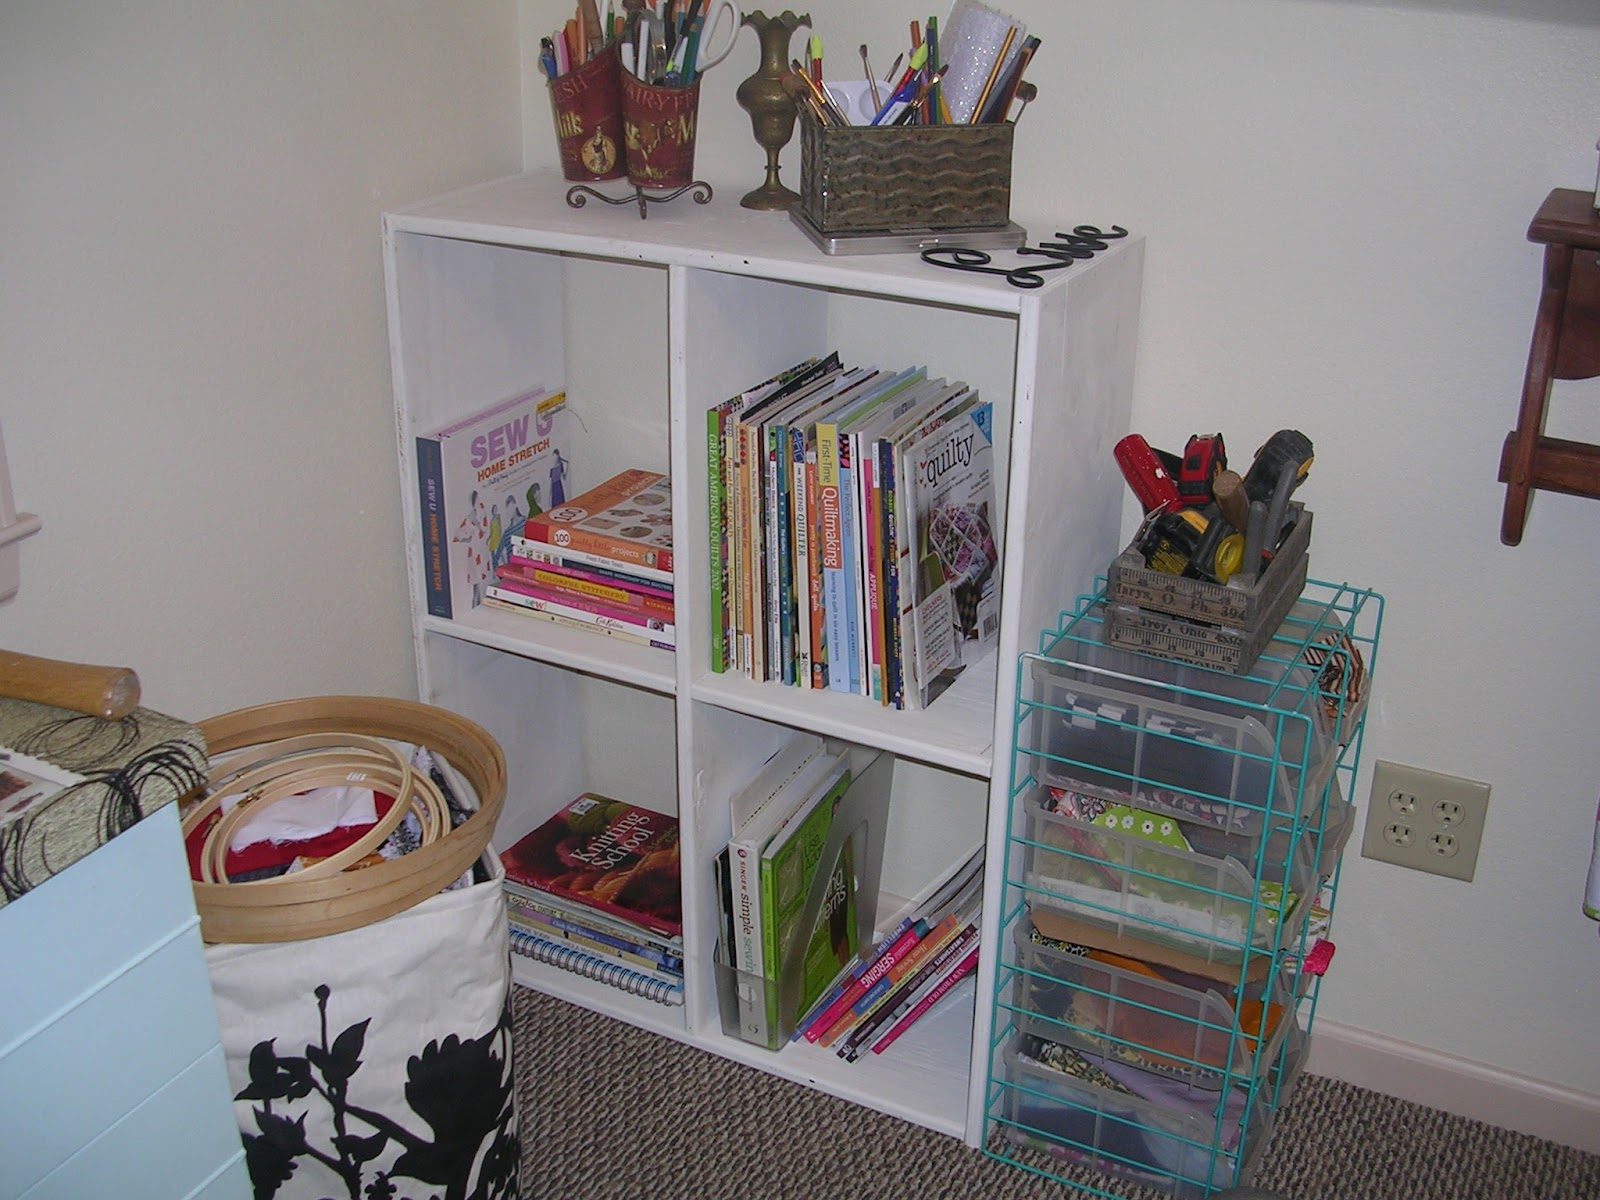
Shown below - to the right of the cutting table are books, fabrics, threads, and my completed quilts.


Again, here's the sitting area -  dolls are sitting in my chairs waiting to greet.


I found this glass jar lamp and filled it with old spools of thread.


I've got my TV, coffee maker, and snacks set up in anticipation of many hours of sewing--for my sewing students as well as me.


Over the last couple of days, I came across this handcrafted pine table that I thought would work great for crafts as well as for students to sew on--so there has already been a change.  (LOL)


We're back at the entrance.


All that is left is to put away a few stray boxes.  Tomorrow I will actually be back to sewing!  While it has been an adventure, I'm ready to put this room to good use.  I have window treatments to make and a quilt to make for a client, which is due by the end of September.   Thank you for stopping by.